How to Clean a New Home
For a low-stress moving process, take the time to thoroughly clean your new home. It’s a lot easier to clean when the space is free of moving boxes and furniture. If your home is newly upgraded or constructed, there will likely be a lot of dust and debris to clean up. To keep yourself organized, come up with a checklist of tasks and the materials you’ll need to perform them.
When performing a cleanup, a lot of things can also come to your attention, like items that need to be fixed or replaced. You can start with some essential cleaning supplies to begin your cleaning project.
Here are simple tips when cleaning the entire home from the bathroom, floors, kitchen, and other parts of the property:
Prepare the necessary equipment:
- Vacuum cleaner
- Mop
- Broom
- Bucket
- Duster
- Step ladder
- Toilet brush
- Spray bottle
Gather small materials and cleaners you’ll likely need:
- Rubber gloves
- Sponges
- Old toothbrush or cleaning brush
- Paper towels
- Cleaning rags
- Liquid detergent
- Kitchen, toilet and bath cleaner
- Baking soda
- White vinegar
- Chlorine bleach cleaner
- Floor cleaner
- Newspaper
Tips on Bathroom Cleaning
Starting with cleaning the bathroom is a good move because it’s one of the first rooms you’ll be using. Make sure you have your disinfecting cleaners on hand!

1. Start from the Top
Aided by your duster, begin to dust from the ceiling area, corners, and light fixtures. Get rid of dust and cobwebs and ensure that you extend your vacuum into the hard-to-reach areas.
2. Clean the Windows and Blinds
Wipe down the glass of your windows using a good window cleaner. You can choose a vinegar solution to remove mold or mildew that might be stuck on the window sills. Bleach used to be recommended, but it’s now advised to use a more natural and effective solution. Use an old toothbrush to get into stubborn corners.
If your windows have shades or blinds, you can run a vacuum over them first to get rid of the dust. Then you can apply a liquid detergent on a sponge to wipe off the dirt.
3. Scrub the Tub and Shower
Scrubbing the shower and tub is required. You’d need an all-purpose cleaner to get rid of the dust and dirt found on the surface. If the tub is new or reglazed, your cleaner should be non-abrasive.
For visible soap scum that often appears on glass shower doors, you can try a vinegar solution. Spray the glass and leave it for half an hour. You can proceed to rinse with a damp cloth.
.jpg)
4. Disinfect the Toilet
Use a toilet brush to scrub the toilet and a sponge or paper towel for cleaning the outside, lid, and handle. A disinfecting cleaner is required for this process. You can also clean the toilet tank to prevent mildew and grime from building up. Remember to use rubber gloves when doing this task and avoid bringing any sponges you use into other parts of the house.
5. Clean the Sink
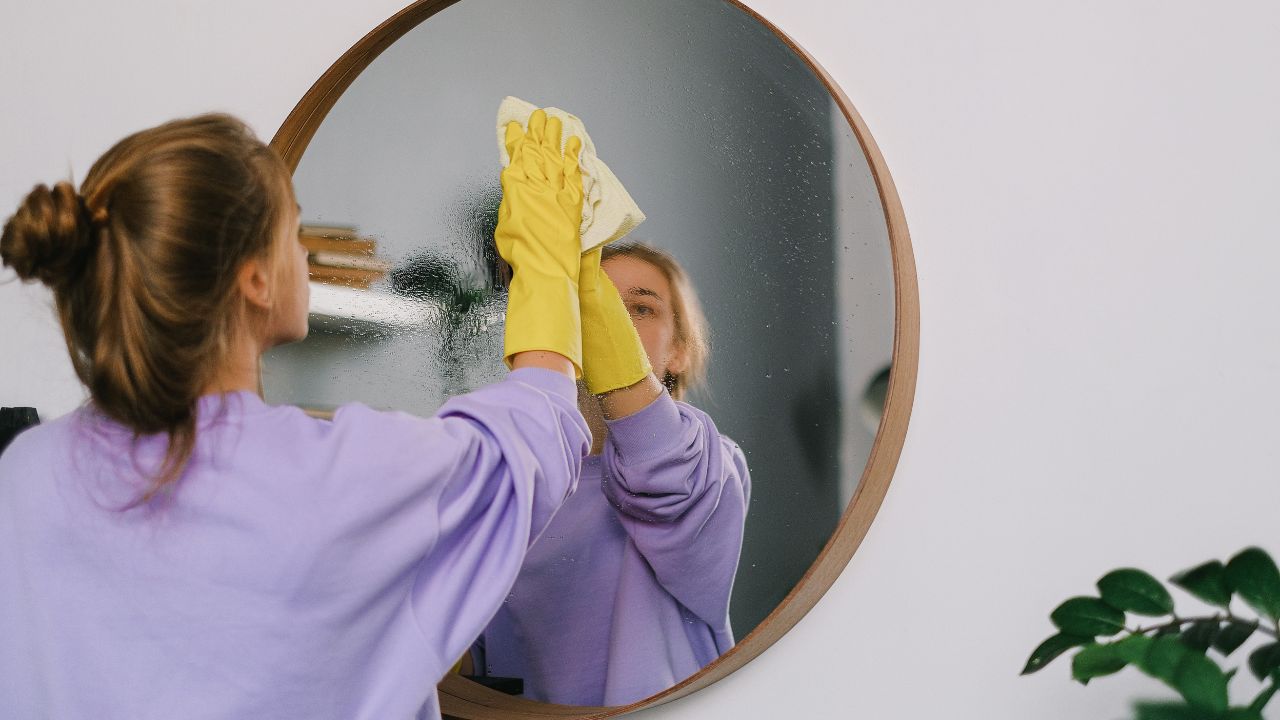
Non-abrasive cleaners are preferred when cleaning the sink and fixtures. It’s also easy to get it spotless with a toothbrush. Use a glass cleaner to get the bathroom mirror sparkling clean.
Tips on Kitchen Cleaning
After the bathrooms are left tidy, it’s time to focus on the kitchen area. Kitchens can be messy with a lot of food particles sticking around.
1. Start at the Top
Similar to the bathroom, you should use the duster on the ceilings, corners, and light fixtures.
2. Work on the Walls
It’s common to find fingerprint smudges around light fixtures and food stains on walls. Your cleaning approach would depend on whether your walls are painted or are designed with wallpapers.
- Painted walls will need to be scrubbed with detergent and water and then dried out with a towel. Use a lighter hand to prevent the paint from being scratched off.
- Use a microfiber cloth to clean wallpaper. You want to avoid water sitting on wallpaper.
.jpg)
If you run into sticky patches on the walls, you can remove them with a fabric softener and a clean, damp towel. Fabric softener is effective against sticky residue.
3. Clean Cabinets
Cabinets should be cleaned inside and outside. You can wipe them with paper towels or a microfiber cloth and some all-purpose cleaner. Ensure that the handles and knobs are wiped down as well.
4. Wipe Down Counters
Normally, counters are the easiest to clean but certain materials such as marble and granite need to be treated with more care. Look out for cracks when cleaning and remove any dirt with a putty knife. For tile backsplashes, you can apply a mild cleaner or some DIY solutions such as baking soda and water.
5. Clean Major Appliances
Appliances can get dirty with crumbs and spills. Check the exteriors and interiors when cleaning the microwave, dishwasher, refrigerator, and oven.
6. Scrub the Sink
Spray the sink with chlorine-free bleach and allow a few minutes of soaking before the rinse. To get rid of a smelly kitchen sink, you can mix baking soda and water before washing them down the drain.
7. Mop the Floor
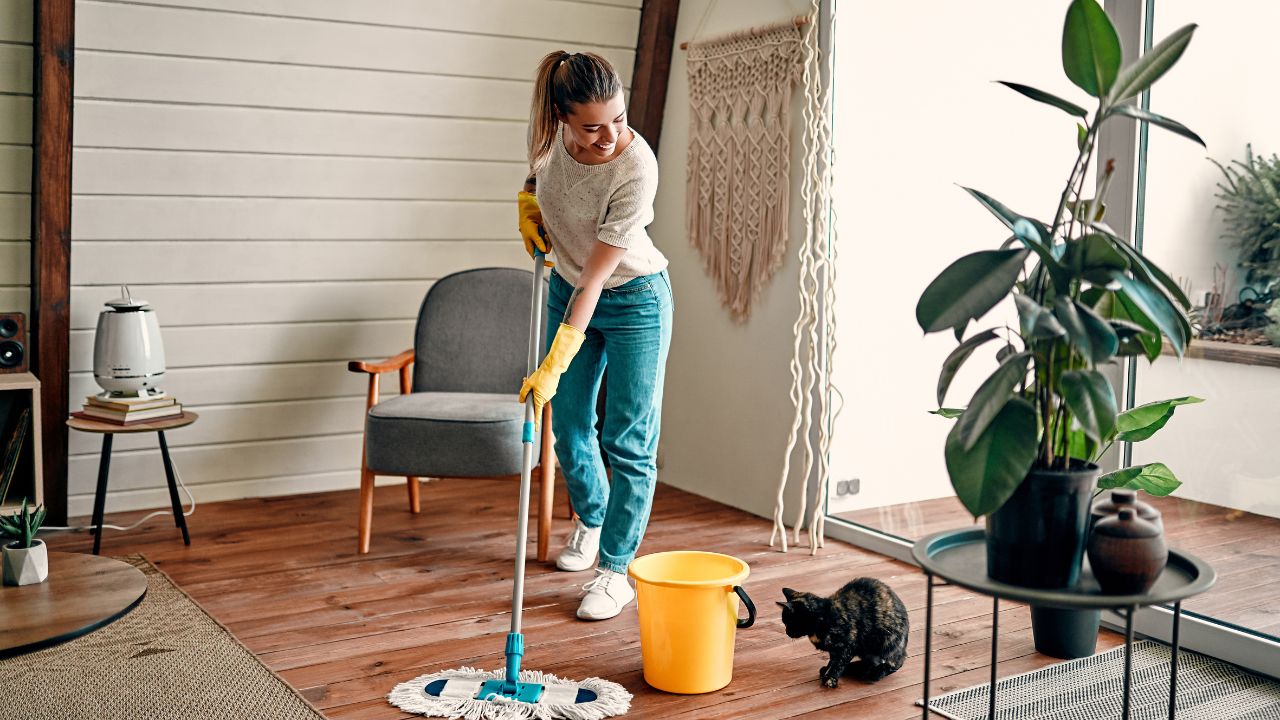
The kitchen floor can be exposed to all types of food particles and liquid spills. It’s best to sweep it first, then use a damp mop to remove the sticky mess and dust.

Tips on Floor Cleaning
- Carpets: Carpets are maintained through steam cleaning. This can be easily performed by a professional cleaner. If this had been done by the former residents, you can vacuum the entire carpet area.
- Wood floors: Start by thoroughly sweeping the floors if they’re made up of hardwood, engineered, or laminate wood-like material. Include sweeping under appliances. You can use mild wood soaps to keep the surface pristine and polished. Aside from that, a fresh scent is released.
- Other floor types: When flooring material is tile, linoleum, or concrete, it’s best to sweep and vacuum to get rid of the dirt. Finish the cleanup by mopping the floor paired with the right cleaning solution.
Bottom Line
If you don’t want to do all the cleaning of your new home by yourself, hire a professional cleaning service. Dazzle Cleaning is the leading cleaning company in the Ottawa area and would be happy to help you with all of your cleaning needs.